
Creating A Website In Wealthy Affiliate: The First Page
It’s time to move forward with my case study where I create an affiliate marketing business from scratch by following the training at Wealthy Affiliate. In my previous post, I talked about the new website creator tools that are within the new HUBS platform. I talked about the new core training that is in HUBS as well as the new tools you’ll be using especially the new AI tools such as the new AI article creator that will cut down the time dramatically it takes to create a keyword rich blog post. In this post, I’ll be talking about creating a website in Wealthy Affiliate, specifically, creating the first page in the new site.
Creating a website and pages within it can be intimidating to some people because they think that it has to look and be absolutely perfect when compared to other websites out there. This is not the case, what’s important is that your traffic is interested in your helpful content and Wealthy Affiliate teaches you how to create helpful content starting with the creation of the first page within your website.
The Training
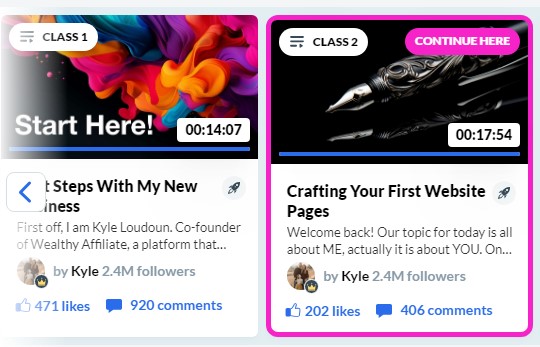
The second video in the new training inside HUBS is titled “Crafting Your First Website Pages”. It’s a nearly 18 minute long video, but Kyle explains and shows the process you’ll be going through to create the first website page. Don’t worry, it is pretty straightforward and easy to follow and he tells you exactly the name of the first page you’ll be creating which is your “About Me” page.
He explains why the About Me page is important because it is going to show your traffic exactly who you are and why you are interested in the niche that you’ve chosen to talk about and help people with. I have several other websites that contain an About Me page and they all talk about who I am and why I’m passionate about the website’s topic at hand.
As you go throughout the video, Kyle will show you the tools you’ll be using to create this particular web page and it will be through the use of the AI Article Creator. While using this particular tool might sound intimidating, he makes it very easy to understand and follow and once you see how quick it is at creating an article after following a few steps, you’re going to want to be using it more and more to create blog posts.
Kyle says that this will GREATLY cut down the time it takes to write a blog post from hours to minutes and move your affiliate marketing business along even faster. The goal at Wealthy Affiliate by its creators is to get people to reach success faster by use of AI which they definitely see as the future of affiliate marketing. Now it’s time to take a closer look at how to create the About Me page by following the steps in the training.
Steps to Creating Your First Web Page
In order to create the About Me Page by following what’s in the second video of the training, the first thing you’ll want to do is go into the HUBS section of Wealthy Affiliate, choose the site you’re going to be putting this page on and the scroll down until you see what’s called “My Writing Tasks”. Don’t worry, I’ve created a YouTube video as part of this case study where you’ll get to see me do exactly what’s taught in the training regarding this.
Once you’ve gotten to My Writing Tasks, you’re going to choose About Me and then click Write Article. What will come up next is what’s called the Article Designer. You’ll want to input a few things here in order to get the type of article/blog post that you want to create. The first thing at the top of this page is Type of Content. This is where you’ll choose About Me. After that, you’re going to choose the Domain the About Me page is going to.
Next up is the niche that you’re targeting. In my case, since it is my new website targeting cryptocurrency, it is the cryptocurrency niche which is already pre-populated so I don’t have to worry about adding that in. Moving on after that is the brand your website will be known by. Since my site is bcryptosafe.com, my brand is known as Be Crypto Safe. Now you might be wondering why the letter is not there in the url of my website after the letter b. The reason for that is becryptosafe.com was already taken so I had to could go for just the letter b itself. Sometimes you’ll have to get creative or think outside the box if the exact domain name itself is already taken.
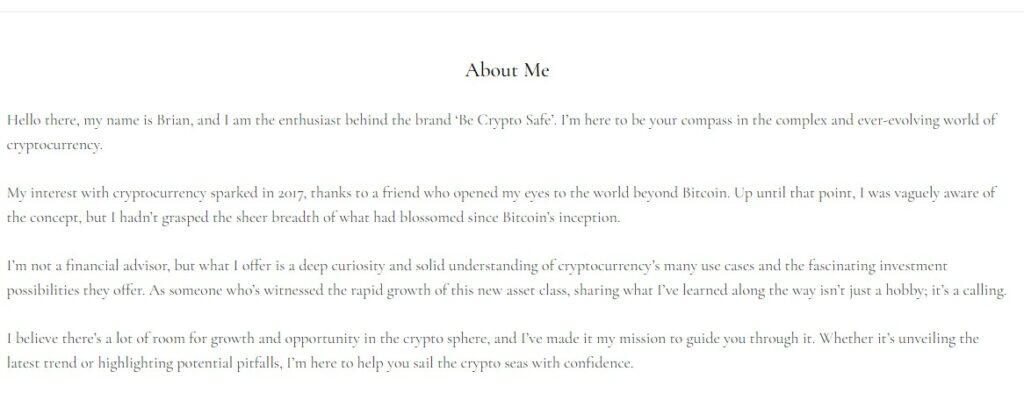
Now that the brand is selected, we’re going to where you want to talk about yourself and what your website is all about. You want to put in as much detail as you can about who you are, what you like doing in your spare time, what you plan on doing with your website and anything else that you’ll feel will be relevant to your readers about you. It doesn’t have to be anything too extensive, but just enough to give your readers a good glimpse of who you are.
The last input for the Article Designer is the content length. This is where you’ll determine the length of your article or page and and outline will be created based on the length that you choose. In regard to the About Me Page, the training suggests that anywhere from 300 to 700 words for this type of page is good enough.
After you choose content length, then you’ll want to go ahead and click the Create Content Outline button. This will create a couple of different outlines that you can choose from, based on the inputs you put in for the Article Designer. You can always edit the outline and change the input if you want to change things a bit. After all of that is done, we are now ready to move into the final stage of creating the About Me page that will fully utilize AI for content creation and I’ll talk about that next.
Using AI within Wealthy Affiliate
We’ve already used AI just a little bit with creating content outline based on the input that was done earlier, but now once you’ve chosen the outline format that works for you, it’s time to use the AI inside Wealthy Affiliate to create the About Me page.
Once you’re ready to move on past the outline phase, you’ll go to what’s called Author Settings. There are two different author settings to choose from. There’s what’s called Professional Copywriter and Conversational Blogger. What’s nice is that they give a description of what each setting does for the tone of the page or article. The training suggests that at this time, it’s best to choose the Conversational Blogger as it gives a more conversational tone. The other one known as Professional Copywriter focuses on a more first person aspect. Another cool thing is that you can view samples of both.
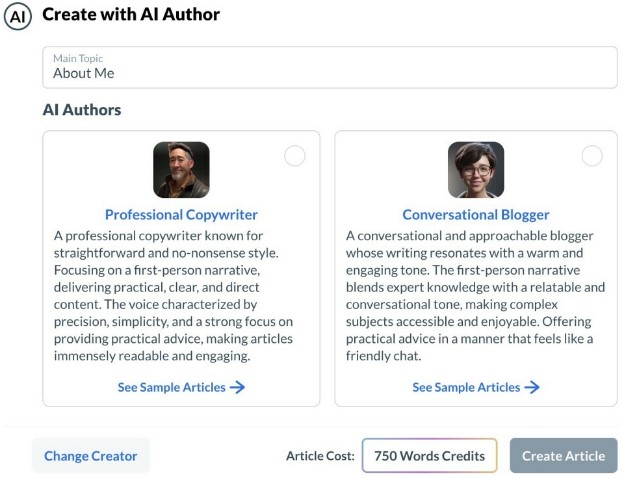
Ok, the author type has been chosen, you know how long the article is going to be and how much word credits are going to be used and so now it is time to fully create the article. You’re going to click the create article button and then a screen will pop up saying it can at least take 2 minutes to create the article or maybe a little longer depending on the length.
After the short wait, the article should be ready for you to view. I have to say, seeing this in action for the first time was really quite impressive. The article definitely was the correct word length I had chosen and used all the inputs I had given it to create the About Me page. Once I proof read it and made a few changes to it (highly recommended that you do this), I was ready to publish this to my website and so I clicked the button to publish my content and chose the domain that it is going to be published on.
Even though the About Me page is a simplistic post to my website, I felt really accomplished and amazed at this. Yes, I’ve added About Me pages to some of my other websites before, but it had always been done manually, meaning I had to create it myself. There’s nothing wrong with that, but using AI for the first time to do that and seeing the power of it and how it will cut down time for article creation is just awesome. I hope you all see the power of AI for an affiliate marketing business.
Creating Other Pages
Now that the About Me Page is up at my site (and hopefully yours if you decide to move forward with this), there are some other pages that do need to be added as well. The training talks about a Privacy Policy page that you’ll want to add to your site too. After seeing how AI is used for the other page, it’ll be quite easy for the Privacy Policy page too.
There will also be another page you’ll see will need to be added at some point, but the current part of the training does not talk about it at this time even though you’ll see it as part of your writing tasks. It’s what’s called the Affiliate Disclosure page. This is something that’s going to be essential when you begin monetising your website by adding affiliate links to some of your posts. Now is not the time to worry about that though, as the main focus is getting a website recognized by Google and the other search engines and building trust with your audience.
Something I do want to mention about affiliate links though is that in order to get those on your website, you’ll need to sign up for an affiliate program. Most of them are free, but there are some requirements for a lot of them. The biggest one is that your site will usually need to have a certain amount of content before they’ll accept you into an affiliate program. Some affiliate programs also want you to have a certain amount of traffic as well. I’ll get more into that as I get further into my case study and get closer to monetising my website.
One last thing I want to mention about the About Me page is that it is a good idea to add a photo of yourself. Your readers or audience are going to want to know who you are and so adding a picture of yourself will help immensely with gaining trust. Your audience are going to want to know that what they are reading is from a real person and so Kyle does talk about adding a picture onto this page.
AI Use in Your Business Going Forward
You’ve now seen first hand how AI can quickly help you generate content for a website. It should not fully replace your genuine, manual hand written content, but it will help you build out things faster for your business when used correctly. I really like how Wealthy Affiliate has incorporated the use of Artificial Intelligence within the platform. The new training shows exactly how to use it and has better tasks for you to complete as well as check off once they are finished.
I think, because of this, Wealthy Affiliate has positioned themselves to be a leader in the Affiliate Marketing business by incorporating this new, and rapidly growing technology, and are teaching others how to use AI to enhance and rapidly develop their business.
Creating a website in Wealthy Affiliate is now a much faster and easier process than it has ever been. Building out your first few pages are now a quick breeze thank to AI and once you move forward with the training and start building out the main part of a website, which is content that your traffic will want to read, you’ll be able to do it a whole lot faster and spend time doing other things that can help your business such as keyword research.
In the video below, you’ll see first hand the creation of my About Me page on my new website. Moving forward, I’m going to add the Privacy Policy page and keep moving along with the training. There are definitely some exciting things coming down the pipeline such as creating a logo for my brand as well as creating AI generated images for my website. Keyword research will also be an extremely important aspect and you’ll see how this is all done here pretty soon. Definitely check back as I continue along with my case study of building an affiliate marketing business from scratch.